Configuring notifications sent by Softaculous
Tutorials • Softaculous | softaculous | notificationsIn this article we will describe how we can turn on or off the notifications sent by Softaculous
by Mihai BobriucViews 589Updated now 1 yearPublished 29/08/2022
Introduction
If you have installed a script/application on your hosting with Softaculous, you will receive emails related to available updates, changes made, backups, etc.
Softaculous offers the ability to customize these notifications. We can choose to receive only some or stop them all.
Requirement
- We will need the cPanel login data, received in the email with the administration data.
Steps
- After logging into cPanel we will go to the section Software and we will click on Softaculous Apps Installer.

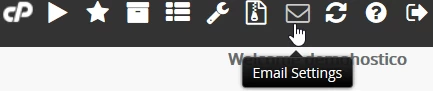
- Once the Softaculous interface has loaded, we will click on Email Settings from the navigation bar at the top right.
- In the next page we will be able to make the desired customization.
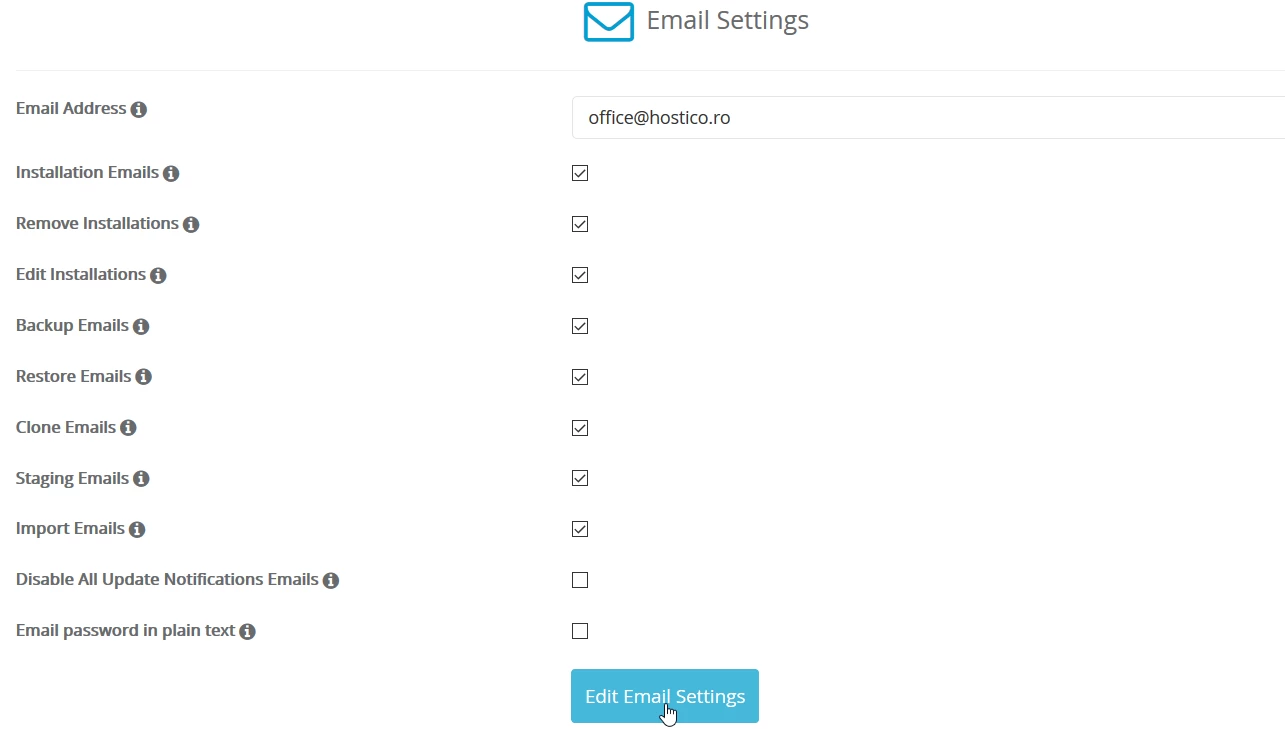
In the first Email Address field we will be able to change the email box where we receive the notifications. Below we will check what information we want to receive in the email box:
Installation Emails - details related to the installation.
Remove Installations - details related to deleting an application.
Edit Installations - details about changing an application.
Backup Emails - information regarding backups performed by Softaculous.
Restore Emails - information regarding returns made by Softaculous.
Clone Emails - details when we clone an existing application.
Staging Emails - details of the applications used for testing purposes.
Import Emails - details related to an application imported from an external source.
Disable All Update Notifications Emails - if checked, you will no longer receive emails related to available updates for installed applications.
Email password in plain text - if checked it will be allowed to send passwords set on the email box.
**If we do not want to receive any email, we will uncheck all the borders.
After the customizations have been made, we will click on the Edit Email Settings button at the bottom of the page.
- If everything went without problems we will be greeted by the message Done Your email settings were saved successfully.
Similar Articles
7
Adding a secondary contact (Subcontact)Tutorials • Commercial | contact | secondary | subcontact
Procedure for adding a secondary contact to the customer account.
by Mihai BobriucViews 1348Updated now 1 yearPublished 08/07/2017
Activating associated contacts billingTutorials • Commercial | contact | billing | invoice
This article describes the steps required to enable associated contacts billing
by Mark DohiViews 1200Published now 1 yearPublished 08/06/2022
Installing an application through cPanel Softaculous pluginTutorials • Softaculous | softaculous | wordpress | install | cpanel | plugin | cms | application
This article will describe the steps you need to install an application through the cPanel Softaculous plugin.
by Ana RednicViews 1012Updated now 1 yearPublished 25/10/2018
Enabling SMS Notifications.Tutorials • Commercial | sms | notifications | invoices
Introducing the steps to follow in order to enable SMS notifications on your Hostico customer account.
by Mihai BobriucViews 699Updated now 1 yearPublished 04/05/2019
Activating technical support on contactsTutorials • Technical | contacts | support | tech
In this article we will go through the necessary steps to activate the technical support on contacts
by Mark DohiViews 668Updated now 1 yearPublished 13/07/2022